
Wax Carving Techniques for Stunning Jewelry Designs
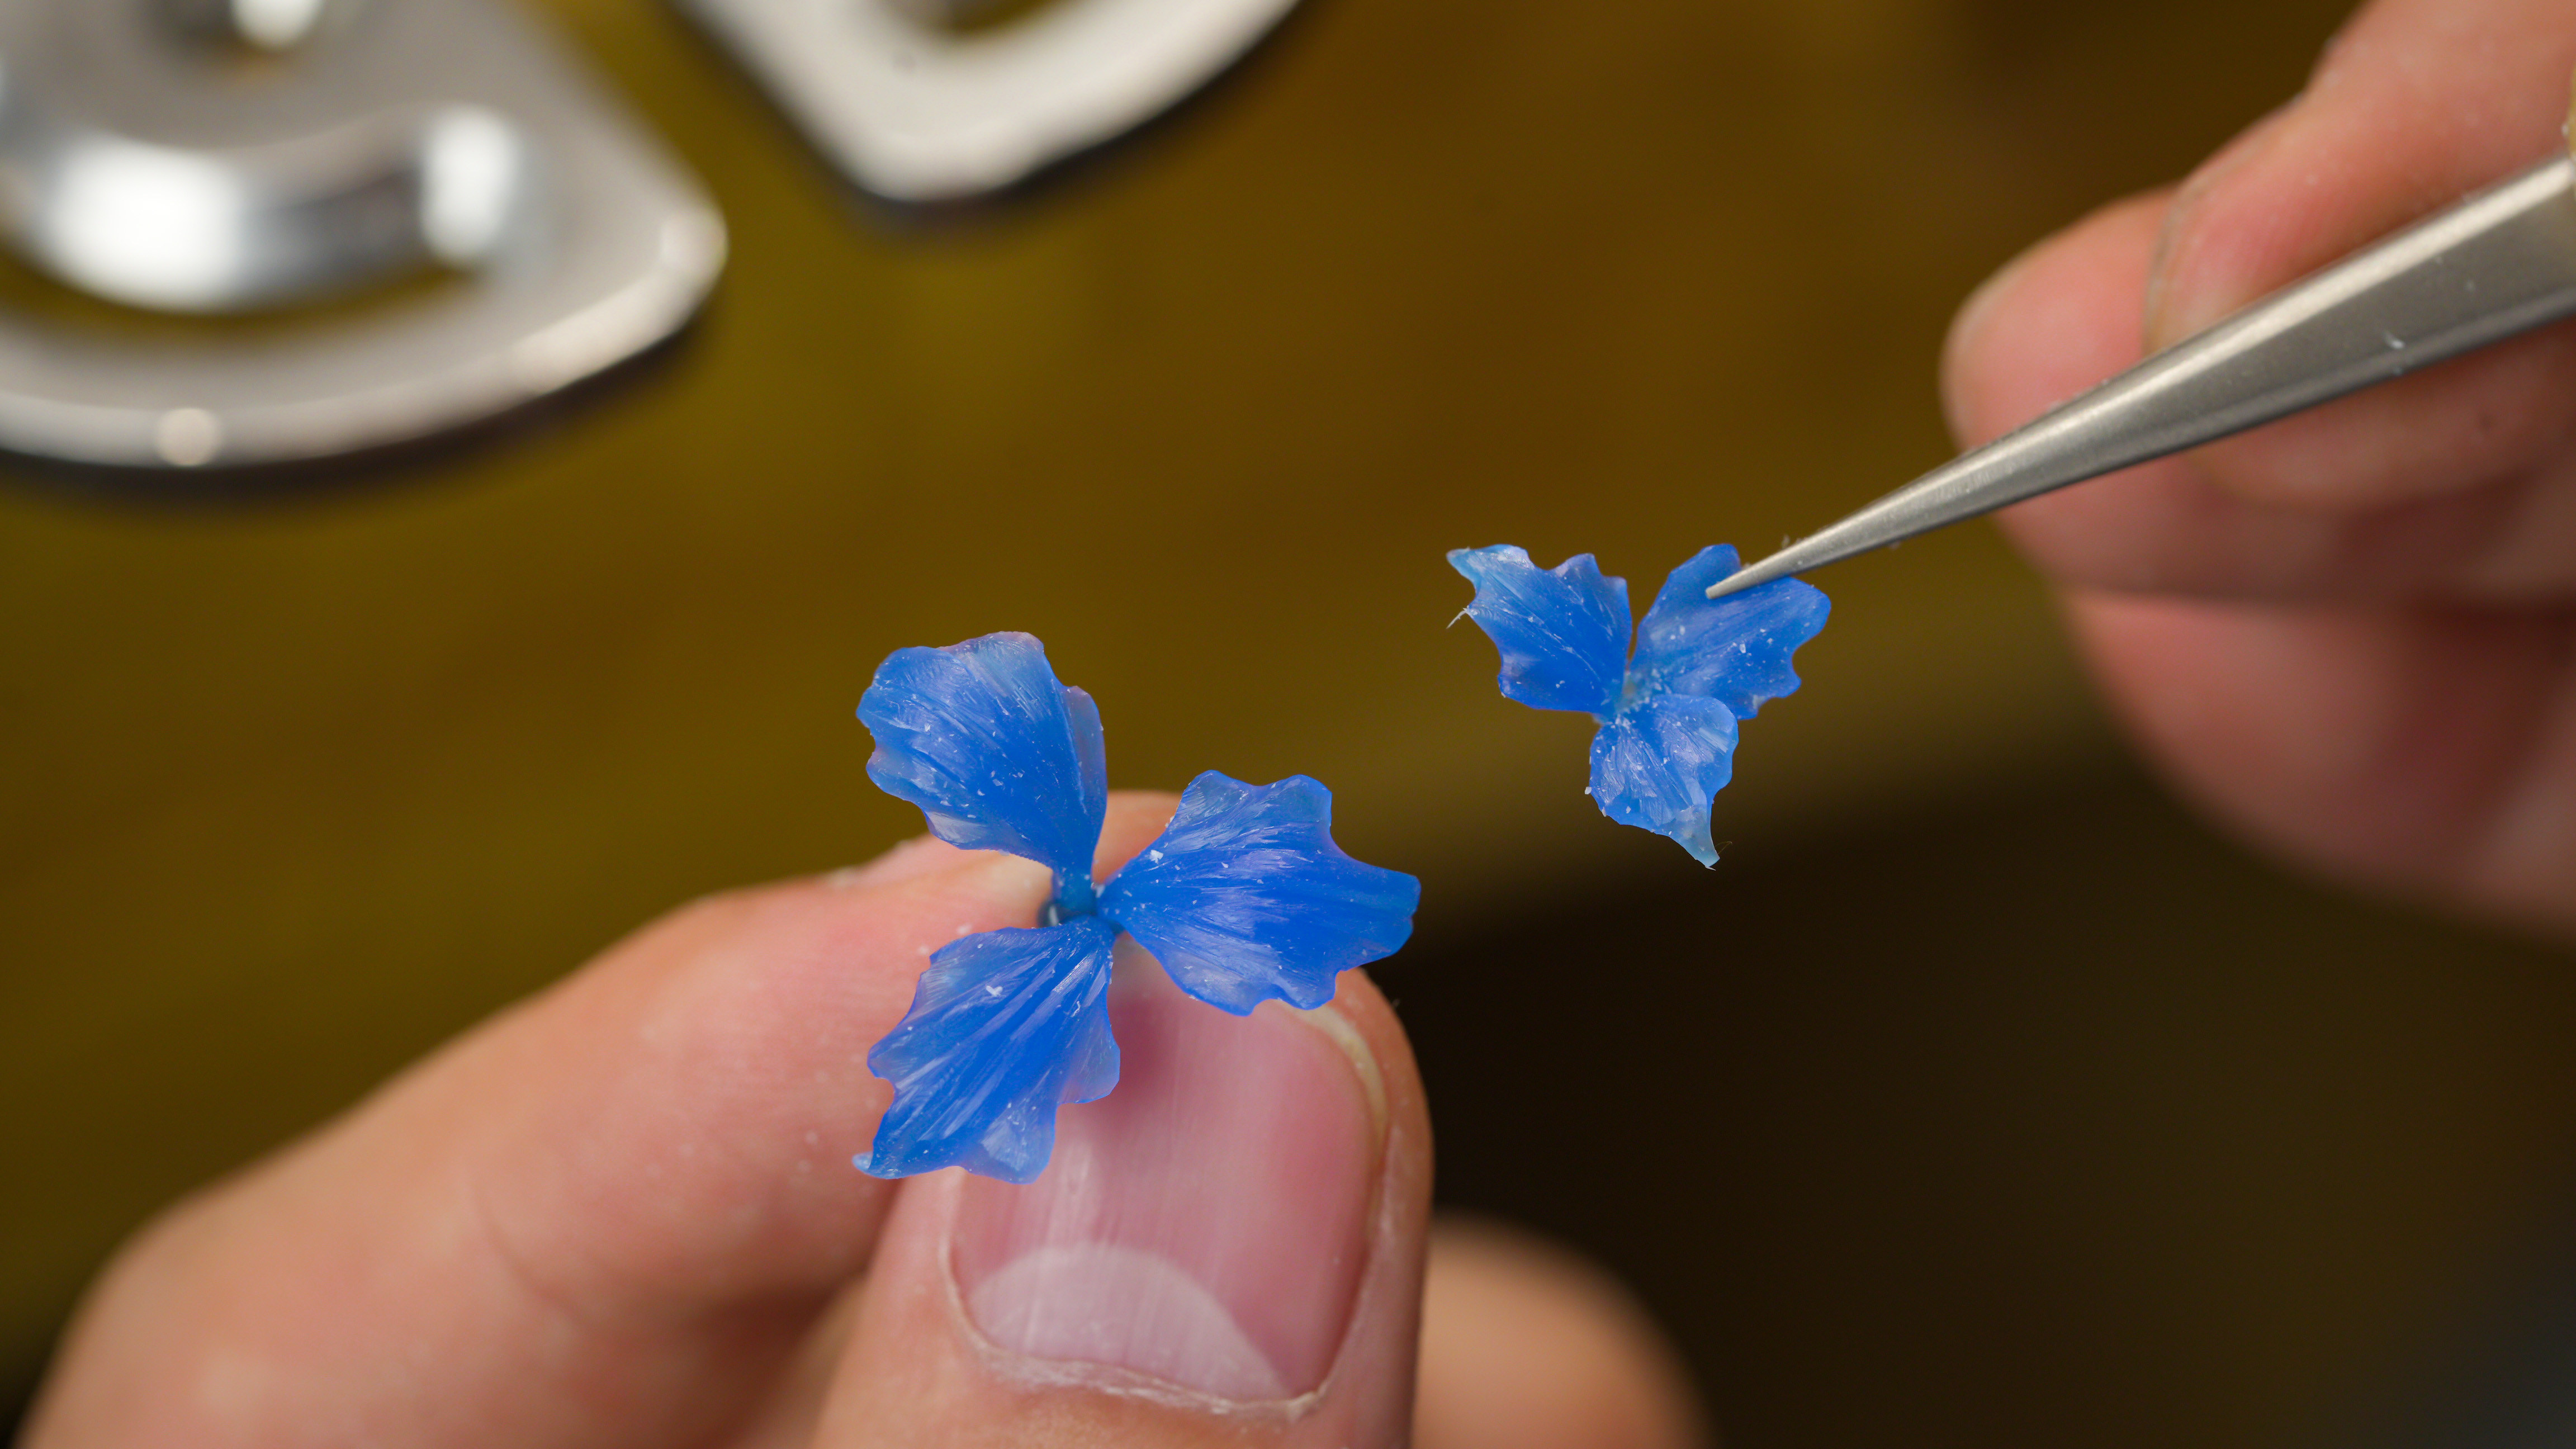
Have you ever wondered how intricate rings or elaborate pendants come to life? Wax carving is the secret behind many stunning jewelry designs. This ancient technique, dating back over 6,000 years, has roots in civilizations like ancient Egypt and Africa. It’s incredible to think that the same method used for ceremonial jewelry centuries ago is still helping artists like you and me create modern masterpieces today.
When I carved my amethyst iris earrings, I started with a simple wax block. The process felt like sculpting a dream into reality. Whether you’re crafting statement bracelets or customized components, hand carved wax jewelry lets your imagination take center stage. The best part? It’s accessible to everyone, from beginners to seasoned creators. With the right tools and a bit of guidance, you’ll be amazed at what you can achieve.
Key Takeaways
Begin with basic tools like small files and a jeweler's saw to shape wax easily.
Pick the correct wax for your design; hard wax works well for details, while soft wax is simpler for beginners.
Keep your workspace tidy and organized to make carving easier and safer.
Smoothing your wax model is important; try flame polishing for a neat finish.
Feel free to combine wax types to create cool textures and effects in your designs.
Getting Started with Hand Carved Wax Jewelry
Starting your journey with hand carved wax jewelry is exciting and rewarding. When I first began carving my amethyst iris earrings, I was amazed at how the right tools and setup transformed the process. Let’s dive into what you’ll need to get started.
Essential Tools and Materials
Basic tools for beginners
If you’re just starting, you don’t need a massive toolkit. A few essentials will do the trick:
Needle files: Perfect for refining details and smoothing edges.
Jeweler’s saw: Great for cutting out rough shapes from your wax block.
Dentist scalpel: A versatile tool for carving and smoothing.
Ruler and scribe: Handy for marking straight lines and precise measurements.
When I carved the petals of my earrings, I relied on these tools to shape the wax into delicate curves. They’re simple but effective for beginners.
Advanced tools for precision
As you gain confidence, you might want to explore advanced tools like:
Rotary tools: These make intricate designs a breeze and save time.
Wax pens: Ideal for melting and joining wax pieces seamlessly.
Spiral wax blades: Perfect for creating organic, sculptural designs.
Using a wax pen helped me add fine details to the iris petals, giving them a lifelike texture. These tools elevate your work to a professional level.
Additional materials
Don’t forget these helpful extras:
Templates and rulers: For consistent shapes and measurements.
Adhesives: To repair or join wax pieces.
Wax ring sticks: Essential if you’re making rings.
These materials keep your process smooth and organized, especially when working on complex designs.
Setting Up Your Workspace
Importance of a clean, organized space
A clutter-free workspace is your best friend. Keep your tools within reach and your materials stored safely. When I worked on my earrings, having an organized setup saved me from wasting time searching for tools.
Lighting and safety considerations for effective carving
Good lighting is crucial. It helps you see every detail clearly, especially when working on intricate designs. I recommend a bright desk lamp with adjustable angles. Also, don’t forget safety! Wear protective glasses to shield your eyes from wax chips and use a carving glove to avoid accidental cuts.
Pro Tip: Ventilation matters. If you’re using heat tools like a wax pen, make sure your workspace is well-ventilated to avoid inhaling fumes.
With the right tools and a well-prepared workspace, you’re ready to bring your designs to life. Whether you’re learning how to carve wax for jewellery making or refining your skills, these steps set the foundation for success.
Choosing the Right Wax for Jewelry Making
Choosing the right wax is like picking the perfect canvas for your masterpiece. Each type of wax has unique qualities that can make or break your design. When I worked on my amethyst iris earrings, selecting the right wax was crucial for achieving those delicate petal details. Let’s explore the options so you can find the best fit for your project.
Types of Wax
Hard wax (e.g., green wax) for sharp edges and detailed designs
Hard wax is your go-to for crisp lines and intricate details. It’s firm and holds its shape well, making it ideal for designs with sharp edges or geometric patterns. When I carved the veins on the iris petals, hard wax gave me the precision I needed. However, it can be a bit challenging to work with if you’re just starting out.
Soft wax (e.g., blue wax) for organic shapes and flexibility
Soft wax is perfect for flowing, organic designs. It’s easier to carve and shape, which makes it beginner-friendly. If you’re creating something like a wavy bracelet or a floral pendant, soft wax will feel like butter under your tools. I used soft wax for the initial shaping of my earrings before switching to hard wax for the finer details.
Sheet wax for creating uniform thickness and specific shapes
Sheet wax is a lifesaver when you need consistent thickness. It’s great for creating flat components or layering designs. For example, if you’re making a pendant with a raised pattern, sheet wax can help you build the base layer effortlessly.
Here’s a quick comparison to help you decide:
Wax Type |
Application Characteristics |
Pros |
Cons |
|---|---|---|---|
Hard Wax |
Best for sharp edges and detailed designs. |
Precise; holds shape well. |
Requires more skill; less forgiving. |
Soft Wax |
Ideal for organic shapes and flexibility. |
Easy to carve; beginner-friendly. |
Less suitable for fine details. |
Sheet Wax |
Perfect for uniform thickness and flat components. |
Consistent; great for layering. |
Limited to flat or layered designs. |
Factors to Consider
Design complexity and required detail
Think about your design’s complexity. Are you aiming for intricate patterns or simple, flowing shapes? Hard wax works best for detailed designs, while soft wax shines in organic, freeform creations. For my earrings, I needed both types to balance precision and fluidity.
Personal preference and skill level
Your comfort level matters too. If you’re new to wax carving, soft wax might be easier to handle. As you gain confidence, you can experiment with hard wax for more detailed work. I remember struggling with hard wax at first, but practice made all the difference.
Pro Tip: Don’t be afraid to mix and match wax types. Combining them can open up endless possibilities for your designs.
By understanding the strengths of each wax type, you’ll set yourself up for success. Whether you’re crafting a bold statement piece or a delicate charm, the right wax will bring your vision to life.
Step-by-Step Wax Carving Techniques
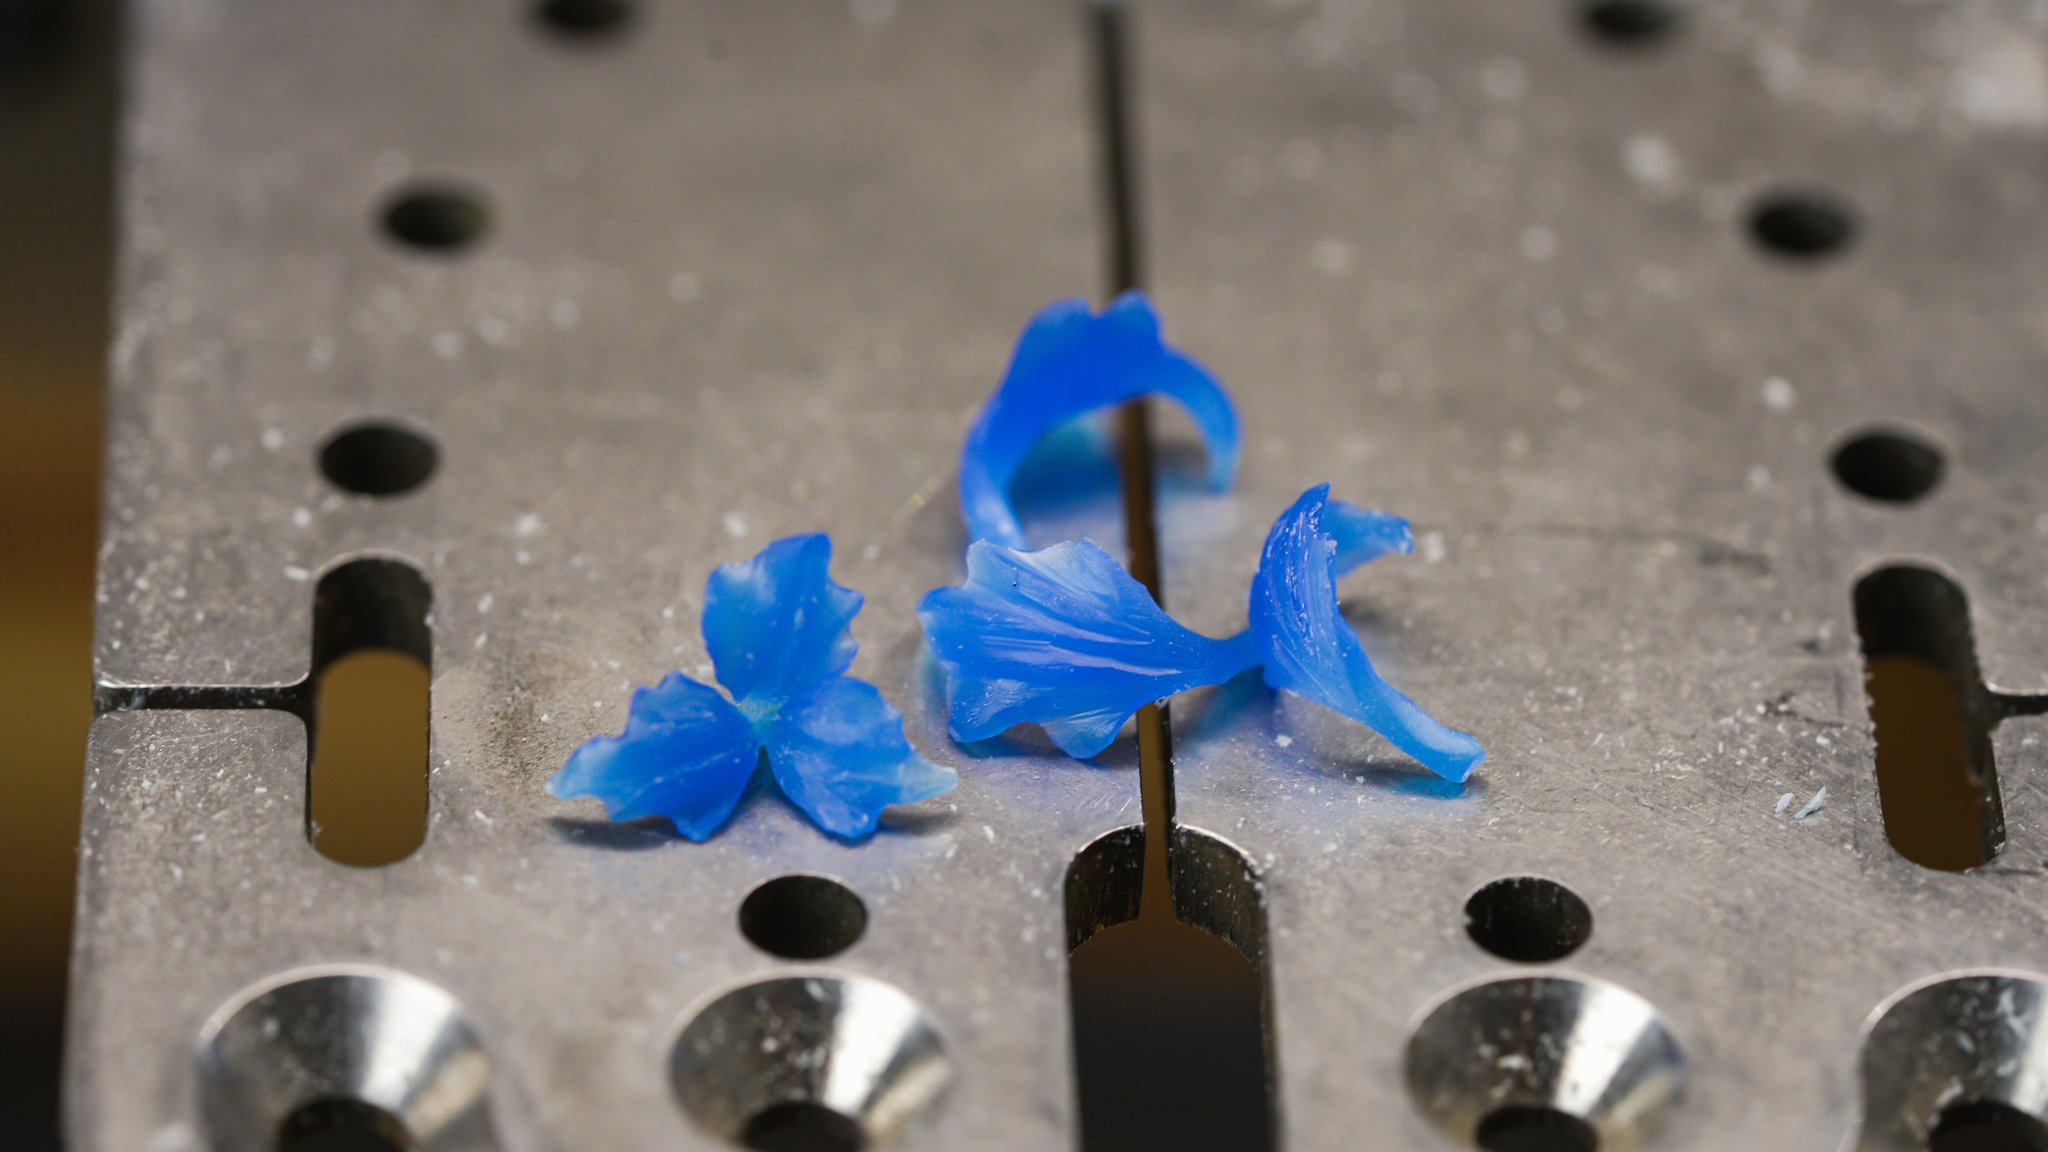
Creating stunning hand carved wax jewelry starts with mastering the carving process. Let’s break it down step by step so you can confidently bring your designs to life.
Preparing Your Design
Sketching and planning the design
Every great piece begins with a plan. Start by sketching your design on paper. This helps you visualize the overall shape and details. For my amethyst iris earrings, I drew the petals first, focusing on their delicate curves. Once you’re happy with your sketch, choose the right wax based on your design’s complexity. Hard wax works well for intricate details, while soft wax is better for organic shapes.
Transferring the design onto the wax model
Next, transfer your design onto the wax. Use carbon paper or a sharpie to outline your sketch directly onto the wax block. This step ensures you have a clear guide to follow during carving. When I worked on my earrings, I carefully traced each petal onto the wax, making sure the proportions matched my sketch.
Carving a Wax Model
Rough shaping using saws and files
Begin by shaping the wax into a rough form. Use a jeweler’s saw to cut out the basic shape, then refine it with wax files. For my earrings, I started by cutting out the petal shapes and smoothing the edges with a file. This step sets the foundation for your design.
Adding fine details and textures with carving tools
Once the rough shape is ready, it’s time to add details. Use wax sculpting tools like needle files, dental tools, or even a micro-motor for precision. I used a heated carving tool to etch the veins onto the petals, giving them a lifelike texture. Sandpaper also helps smooth out any rough spots.
Layering techniques for intricate designs
For more complex designs, layering is key. Build up layers of wax to create depth and dimension. When I carved the iris petals, I added thin layers of wax to mimic the natural folds. A wax pen works wonders for this technique, allowing you to melt and join pieces seamlessly.
Repairing Mistakes
Common errors and how to fix them
Mistakes happen, but they’re easy to fix with the right approach. One common issue is air bubbles caused by improper temperature control when using a wax pen. Keep the pen at an ideal temperature—just below smoking—to avoid this. If you spot hairline cracks, repair them early by melting wax into the cracks for a strong bond.
Tips for patching and reshaping wax effectively
For larger repairs, a butane heat gun can smooth out uneven areas. You can also use an alcohol lamp to flame-polish the surface for a glossy finish. When I accidentally chipped a petal on my earrings, I melted a small amount of wax and carefully patched the area. A quick polish with nylon pantyhose made the repair invisible.
By following these steps, you’ll master the wax carving technique and create stunning pieces. Whether you’re learning how to carve wax for jewellery making or refining your skills, practice and patience will take your designs to the next level.
Finishing Touches for Wax Models
Smoothing and Polishing
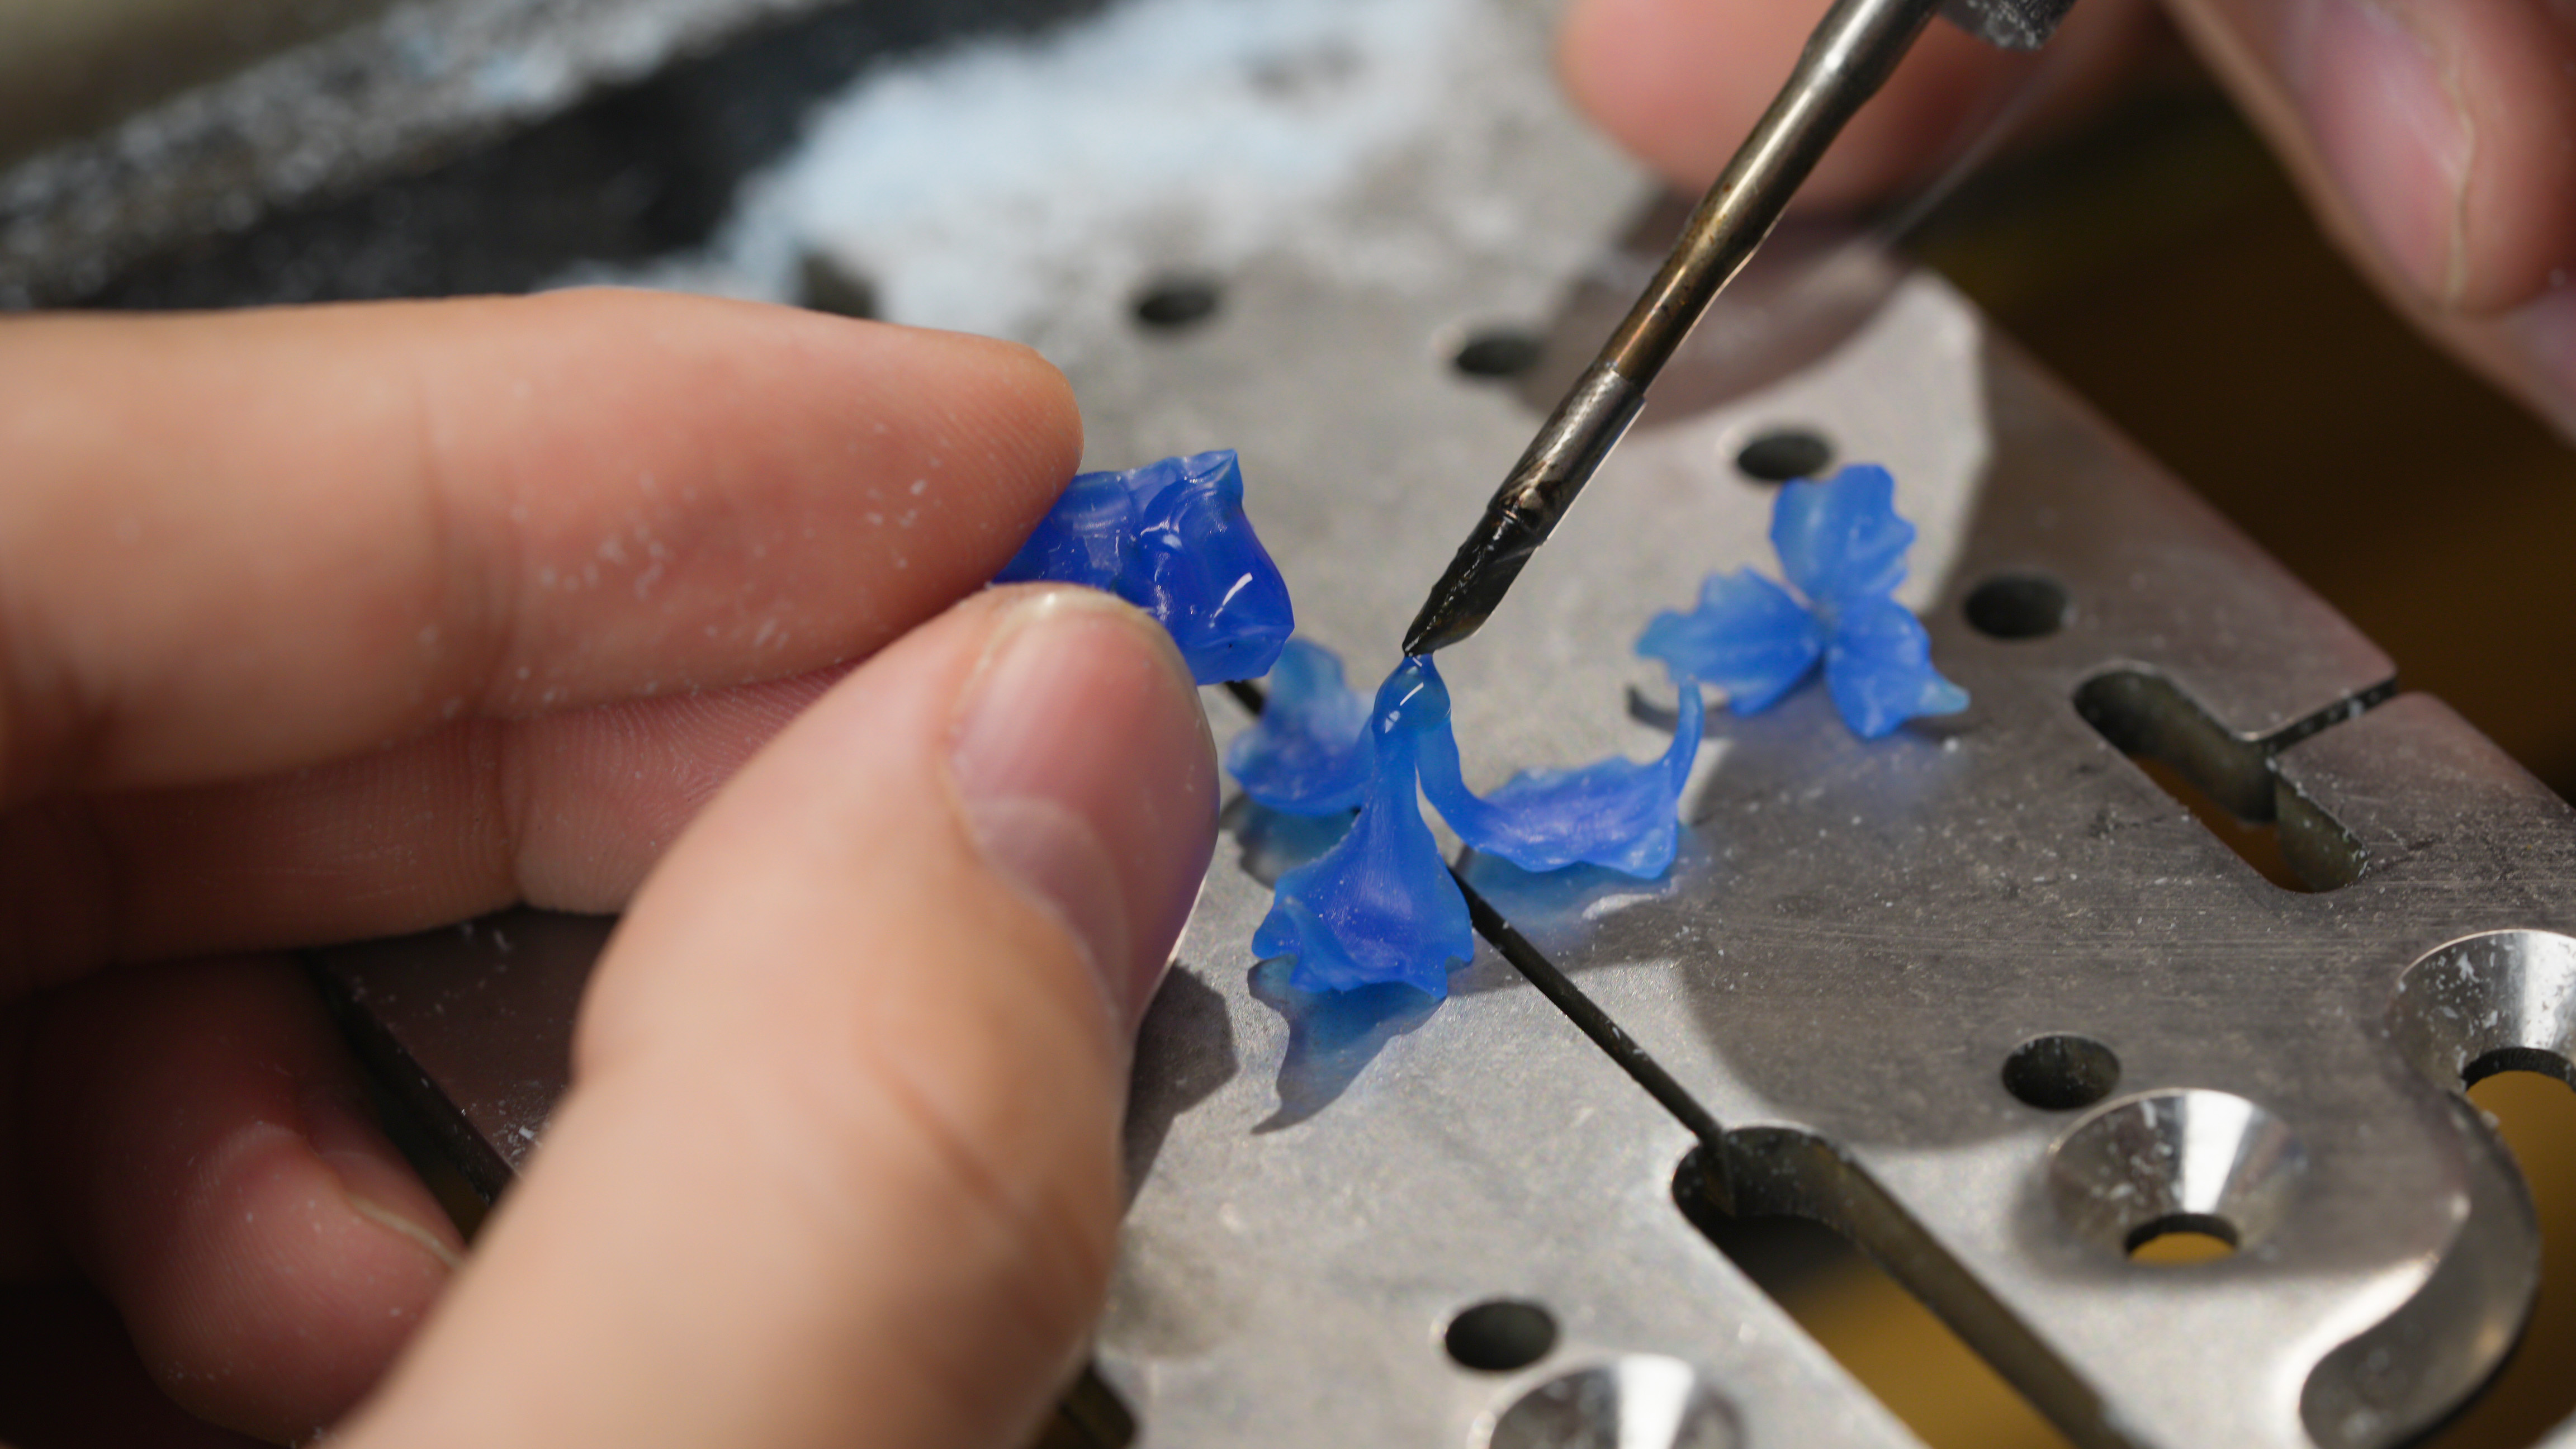
After carving your wax model, smoothing and polishing bring it to life. This step transforms your piece from rough and raw to sleek and professional. When I worked on my amethyst iris earrings, I spent extra time here to ensure the petals looked flawless.
Tools for smoothing
Different tools work best depending on the area you’re polishing. Here’s a quick guide to help you choose:
Method/Tool |
Description |
|---|---|
Perfect for smooth, no-detail surfaces. |
|
Solvent with Nylon Stocking |
Removes bumps and tool marks effectively. |
Bestine Solvent |
Ideal for erasing file marks and imperfections with precision. |
Alcohol Lamp Flame |
Adds a glossy finish by briefly melting the surface. |
Orange Oil |
Smooths surfaces when used with a sponge, but handle with care to avoid dissolving the wax. |
Techniques for achieving a flawless finish
Start by rubbing the wax with stretched nylon pantyhose. It’s a simple trick that smooths out minor imperfections. For larger areas, a butane-powered heat gun works wonders. If you’re dealing with intricate details, use hard felt buff soaked in lighter fluid to contour and polish. For a glossy finish, quickly pass your model through the flame of an alcohol lamp. I used this technique on the petals of my earrings, and it gave them a beautiful sheen.
Pro Tip: Always test your polishing method on a scrap piece of wax first. This helps you avoid accidental damage to your model.
Preparing for Casting
Before casting, inspect your wax model carefully. Look for imperfections like cracks, air bubbles, or uneven surfaces. These flaws can ruin your final piece if left unchecked. When I prepared my earrings for casting, I found a tiny chip on one petal. I melted a small amount of wax to patch it, then polished it until it blended seamlessly.
Inspecting the model for imperfections
Hold your model under bright light to spot any flaws. Use a magnifying glass for detailed areas. If you find file marks or scratches, smooth them out with Bestine solvent on a Q-tip. For cracks, melt a bit of wax and fill them in. This step ensures your model is perfect before moving forward.
Reinforcing delicate areas to ensure durability during casting
Delicate parts, like thin petals or intricate patterns, need extra care. Reinforce these areas by adding a thin layer of wax. A wax pen works great for this. When I reinforced the edges of my iris petals, I used a wax pen to build up the thickness slightly. This kept them strong enough to withstand the casting process.
Taking the time to smooth, polish, and inspect your model ensures your hand carved wax jewelry turns out stunning. These finishing touches make all the difference in the final result.
Pro Tips for Stunning Hand Carved Wax Jewelry
Advanced Wax Carving Techniques
Creating intricate patterns and textures
Adding intricate patterns and textures to your wax model can elevate your design to a whole new level. When I carved the delicate veins on my amethyst iris earrings, I used a few advanced techniques that you can try too:
Using Heat Tools: Heat tools are perfect for precision. Start with a low heat setting and gradually increase it to shape or smooth the wax.
Incorporating Textures and Patterns: Experiment with different wax sculpting tools to create unique textures. Plan your pattern beforehand to avoid mistakes.
Creating Three-Dimensional Designs: Layer your wax carefully to build depth. Sketch your design first, then carve in layers to maintain control over the 3D shape.
These techniques allow you to add lifelike details and textures, making your hand carved wax jewelry truly stand out.
Combining different wax types for unique effects
Mixing wax types can unlock endless creative possibilities. For my earrings, I combined soft wax for the flowing petal shapes and hard wax for the sharp edges. This approach gave the design both fluidity and precision. You can also use sheet wax to add uniform layers or create flat components. Experimenting with different waxes helps you achieve effects that are impossible with a single type.
Tool Recommendations
High-quality tools for precision and efficiency
Investing in the right tools makes a huge difference in your results. Here are some top recommendations:
Wolf Precision Wax Carver Complete Set: Offers sharp tools in various sizes for detailed finishes.
Wax Pen/Electric Wax Carver: Perfect for joining wax pieces seamlessly.
Wax Shaping Burrs: Great for carving textures and settings.
Other essentials include needle files, calipers, and a micro-motor for drilling and texturing. These tools make carving easier and more precise, especially for intricate designs.
Maintenance tips to extend tool lifespan
Taking care of your tools ensures they last longer and perform better. Clean them after every use to remove wax residue. For heat tools like wax pens, avoid overheating to prevent damage. Store sharp tools in a protective case to keep them from dulling. Regular maintenance keeps your tools in top shape, saving you time and money in the long run.
Inspiration and Experimentation
Drawing ideas from nature, art, and other sources
Inspiration is everywhere! For my amethyst iris earrings, I drew from the delicate curves and textures of real iris petals. You can look to nature, art, or even architecture for ideas. Observe the patterns and shapes around you, and think about how they can translate into your designs. The beauty of wax carving lies in its ability to bring these inspirations to life.
Encouraging creativity and experimentation in designs
Wax carving gives you the freedom to experiment. You can cut away or add to your model as you go, refining your design continuously. This process fosters creativity and allows mistakes to become unique features. Try using different tools to create textures or combining wax types for diverse effects. Don’t be afraid to play and explore—you might discover something amazing!
“This freedom inspires creativity and experimentation, making each piece one-of-a-kind.”
By embracing these pro tips, you’ll not only improve your skills but also create stunning, personalized jewelry that reflects your unique vision.
Wax carving is an art that grows with practice, patience, and a touch of creativity. As you’ve seen through my journey with the amethyst iris earrings, every step—from sketching to polishing—plays a vital role in bringing your vision to life. To help you refine your skills, here are a few key takeaways:
Take your time. Careful, accurate carving leads to better results.
Polishing is essential. Use the right tools and work gently for a professional finish.
Store your work properly. Keep it safe from sunlight and handle it with care.
Prioritize safety. Wear safety glasses, use a carving glove, and keep your workspace clean.
Carve with the grain of the wax. This technique ensures a smoother finish.
Remember, the joy of wax carving lies in the process itself. Each piece you create is a reflection of your imagination and effort. So, grab your tools, embrace the learning curve, and let your creativity shine. You’ll be amazed at what you can achieve! 😊
FAQ
1. How do I fix mistakes in my wax model?
Mistakes happen, and that’s okay! If you chip or crack your wax, melt a small amount of wax and patch the area. I once chipped a petal on my amethyst iris earrings. A quick repair with a wax pen and some polishing made it good as new.
2. What’s the best wax for beginners?
Soft wax, like blue wax, is great for beginners. It’s easy to carve and forgiving if you make mistakes. When I started my earrings, I used soft wax for the initial shaping. It felt like carving butter—perfect for building confidence.
3. How do I add fine details to my design?
Use precision tools like needle files or a wax pen for intricate details. For my earrings, I used a heated carving tool to etch the veins on the petals. Work slowly and check your progress often to avoid over-carving.
Tip: Practice on scrap wax before working on your main piece.
4. Can I combine different wax types in one design?
Absolutely! Mixing wax types can add depth and variety to your piece. For my earrings, I used soft wax for the flowing petal shapes and hard wax for the sharp edges. Combining them gave the design both fluidity and structure.
5. How do I keep my workspace safe and organized?
Keep your tools within reach and your space clutter-free. Good lighting is essential, and ventilation matters if you’re using heat tools. I always wear safety glasses and use a carving glove to protect my hands while working on delicate details.
Pro Tip: Label your tools and store them in a dedicated box to save time during your projects.